Smart home design, energy efficiency, and connected lighting guidance.

Author: Jasy Green

  • Understanding Smart Home Ecosystems: Which One is Right for You?

    Understanding Smart Home Ecosystems: Which One is Right for You?

    Understanding Smart Home Ecosystems: Which One is Right for You?

    Smart home ecosystems are basically the “team captain” for your connected home. They help your lights, speakers, thermostats, cameras, and routines play nicely together instead of behaving like four different people trying to drive the same car.

    If you’re starting from scratch, the good news is that most people do not need every gadget under the sun. They need a setup that fits how they live: simple to use, easy to expand, and not the sort of thing that needs a spreadsheet just to turn on a lamp.

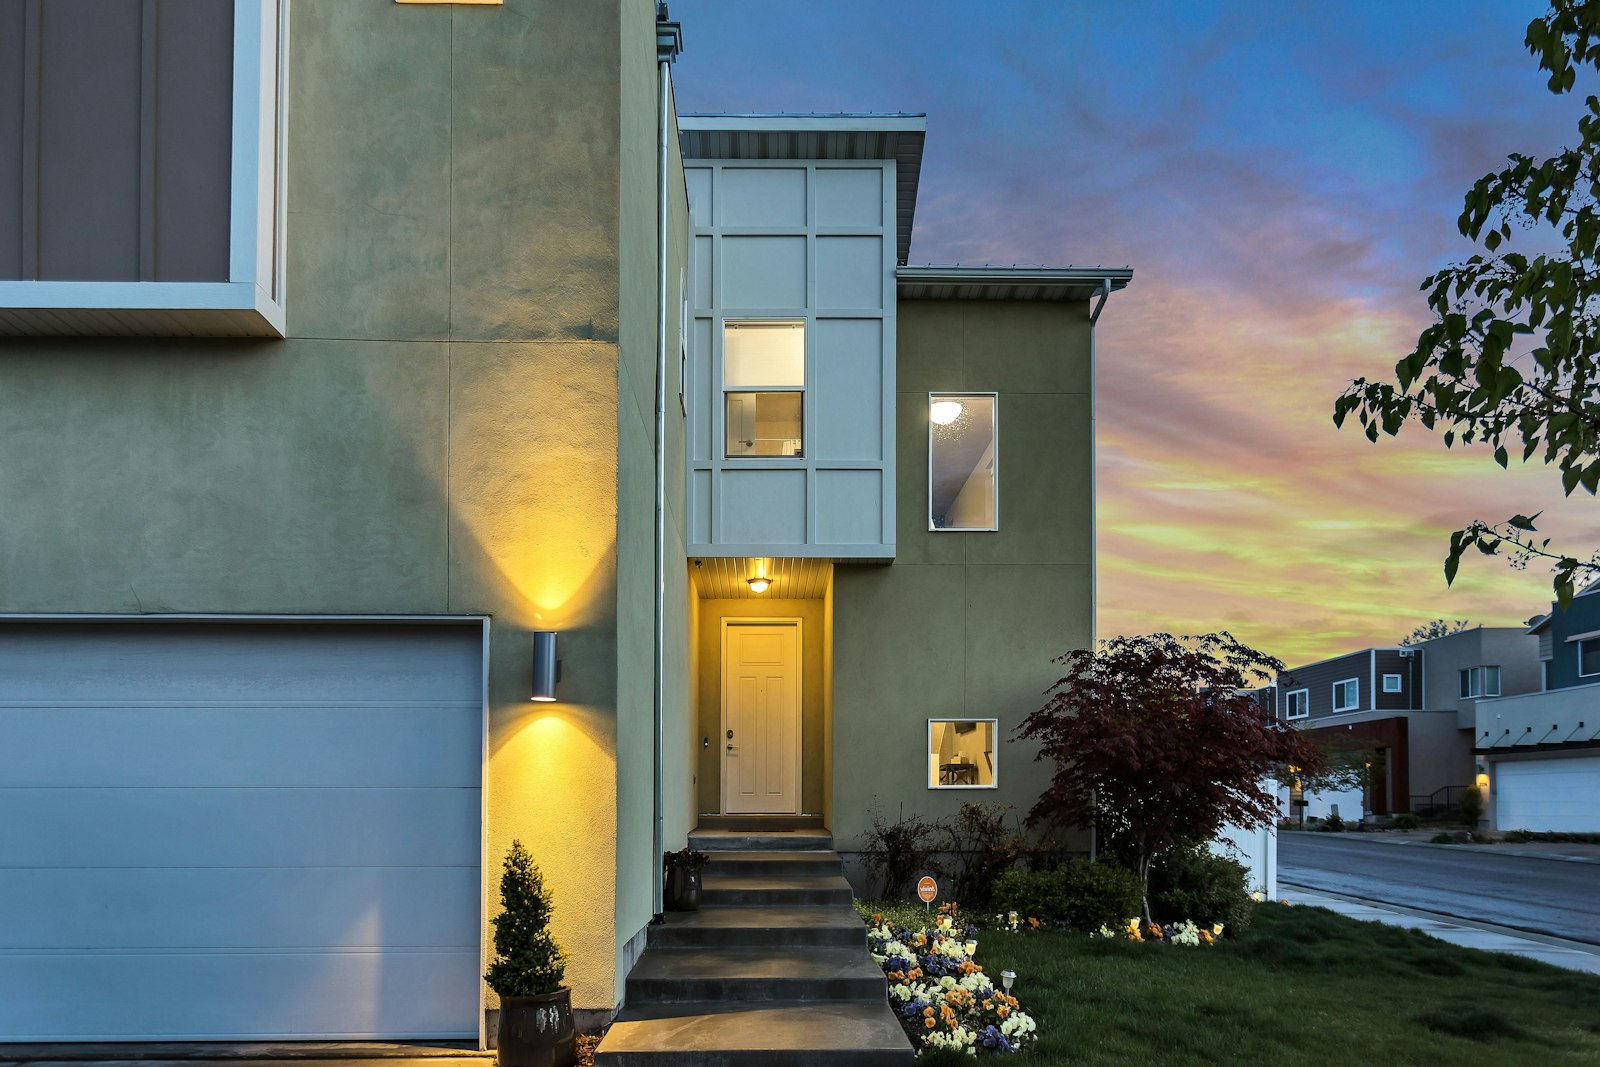
    Modern home with smart controls and energy-efficient design
    A smart home ecosystem should feel coordinated, not complicated.

    What a smart home ecosystem actually does

    An ecosystem is the platform layer that connects your devices and routines. It usually includes a voice assistant, a phone app, and compatibility rules for third-party devices. The main job is simple: make sure your tech can talk to each other without constant babysitting.

    For a quick overview of how connected devices and platforms work together, the home automation overview on Wikipedia is a decent starting point. For a more practical angle on everyday consumer automation, CNET’s smart home coverage is useful for seeing how these systems behave in real homes rather than glossy ads.

    Comparing the major ecosystems

    There are four names most people run into first: Amazon Alexa, Google Home, Apple Home, and Samsung SmartThings. They all do the basics, but they differ in how open they are, how polished they feel, and how much you want them to decide for you.

    Ecosystem Best for Watch out for
    Amazon Alexa Broad device support and easy voice control Can feel a bit fragmented if you add lots of brands
    Google Home Simple voice commands and strong search-first convenience Device support can be uneven depending on brand
    Apple Home Privacy-minded users and people already deep in Apple devices Usually narrower device compatibility than the open systems
    Samsung SmartThings Flexible setups with a wider mix of brands and devices Can take a little more setup time at the start

    If you want to compare compatibility details directly, the official Google Nest help centre, Apple Home support guide, and SmartThings compatible devices list are helpful references before you buy anything.

    Pros and cons, without the marketing glitter

    Amazon Alexa is often the most forgiving if you like lots of third-party options. Great for plug-and-play basics. Not always the tidiest experience once the house starts collecting devices like a hobby.

    Google Home is friendly if you already live in Google’s world. It’s easy to ask for things by voice, and that matters more than people admit… because nobody wants to shout six command phrases at a lamp.

    Apple Home tends to appeal if privacy and polish matter most. It works especially well when your phone, tablet, and speaker stack are already in the same ecosystem.

    SmartThings is the “I want options” choice. It can be a strong fit if you care about flexibility and plan to mix device brands over time.

    How to choose the right one for your home

    Start with three questions:

    • Which phone and speaker brands do you already use?
    • Do you want the simplest setup possible, or the most flexible one?
    • Are you planning mostly lights and speakers, or a fuller setup with climate control and security?

    If your answer is “I just want everything to work without a tech support saga,” pick the ecosystem that matches the devices you already own. If you’re building a broader smart home over time, flexibility may matter more than the prettiest app.

    For a deeper look at connected-home planning and energy-saving use cases, visit Innovative Smart Home Designs and Energy Efficiency and Sustainability.

    Conclusion

    The best smart home ecosystem is the one that feels natural in daily life. You want comfort, not chaos. Pick the platform that fits your existing devices, your preferred level of privacy, and how much time you actually want to spend tinkering.

    Back to the home page if you’d like to explore the rest of the site, or keep going through the service pages to see how smart design and sustainability can work together.

  • DIY Smart Home Projects: Enhance Your Space on a Budget

    DIY Smart Home Projects: Enhance Your Space on a Budget

    Smart home projects that feel doable, not like a second job

    DIY smart home projects are exactly what they sound like: small, practical upgrades you can set up yourself with a few affordable devices and a bit of patience. The fun part is that you do not need to turn your home into a sci-fi set to get useful results. A lamp that switches on when you walk in, a thermostat that behaves itself, or a security camera you can check from your phone can already make life smoother.

    If you are trying to keep costs sensible, start with one room and one problem. That usually gives the best value—and prevents the classic “I bought six gadgets and now none of them talk to each other” situation. For a wider overview of lighting ideas, see Smart Lighting Solutions. And if you want to go further on temperature control, intelligent climate control is the next rabbit hole.

    For anyone who likes official basics before buying gear, the CNET smart home guide is a decent starting point, and the NIST smart home and smart grid overview helps explain how connected devices fit into a home system. If you want a quick look at the bigger picture, home automation is also a useful plain-English refresher.

    Wall-mounted smart home control display in a modern living room
    A simple control screen can make the whole setup feel a lot less mysterious.

    1. Affordable smart lighting: the easiest win

    Smart lighting is the best place to begin because it gives quick results without any electrical drama. Replace one or two bulbs with smart bulbs, connect them to your app, and suddenly you can dim lights, set schedules, or switch them off from the sofa when you realise you left the room lit like a tiny stadium.

    What you need

    • 2 to 4 smart bulbs, ideally LED
    • A phone with the bulb’s companion app
    • A home Wi-Fi network
    • Optional: a smart plug for a lamp that is not bulb-compatible

    Estimated cost: around $15 to $40 per bulb, depending on the brand and features.

    How to set it up

    1. Choose one room with the most-used lamp or ceiling light.
    2. Install the bulb and power the light on.
    3. Open the app and follow the pairing steps.
    4. Name the bulb by room and purpose, like “Desk Lamp” or “Bedroom Reading Light.”
    5. Create one helpful routine, such as a sunset-on schedule or a bedtime off timer.

    Tip: If pairing gets stubborn, move the bulb closer to the router during setup. Devices can be needy. Like all of us, really.

    For bulb and lighting standards, the U.S. Department of Energy LED lighting guide is a practical reference, especially if you want to compare efficiency before buying.

    2. A simple DIY smart thermostat setup

    A true thermostat swap may need more care than a bulb change, but you can still build a beginner-friendly climate setup without overspending. If replacing the full wall thermostat feels too far on day one, start with smart temperature helpers: a smart plug for a portable heater or fan, a room sensor, or a thermostat kit that matches your heating system.

    What you need

    • A compatible smart thermostat or room climate device
    • Basic screwdriver set
    • Optional: thermostat trim plate
    • Mobile app and Wi-Fi
    • Optional: temperature sensor for another room

    Estimated cost: about $50 to $200, depending on compatibility and extras.

    How to set it up

    1. Check whether your heating system is compatible before buying anything.
    2. Turn off power to the existing thermostat at the breaker.
    3. Remove the old thermostat and take a photo of the wires before touching them.
    4. Follow the manufacturer’s wiring guide exactly.
    5. Connect the device in the app and test heating or cooling in a short cycle.

    Tip: Label wires with tape before removing them. Future-you will be very grateful when you are not staring at a tiny knot of wires and pure regret.

    If you want a deeper explainer on climate automation, the Energy Saver thermostat guide and the related intelligent climate control page are both useful.

    3. Budget smart security with cameras and sensors

    Security projects do not have to be expensive or complicated. A starter setup might include one camera facing a front door, a couple of motion sensors, and a smart door or window sensor. That is enough to give you better awareness without turning your house into a command centre.

    What you need

    • 1 indoor or outdoor smart camera
    • 2 or more motion or contact sensors
    • A smart hub if your devices need one
    • Wi-Fi connection
    • Optional: microSD card or cloud storage plan

    Estimated cost: roughly $40 to $150 for a starter setup.

    How to set it up

    1. Pick one entry point first, usually the front door or a main hallway.
    2. Mount or place the camera where it has a clear view but does not feel intrusive.
    3. Attach sensors to doors, windows, or high-traffic areas.
    4. Set alerts so you only get notified about important activity.
    5. Test notifications before relying on the system.

    Tip: Do a walk test after installation. If the camera misses the doorway or the sensor thinks the cat is a burglar, adjustment time has arrived.

    For general consumer advice on connected devices, StaySafeOnline’s IoT security guide is a solid reminder to change default passwords and keep firmware updated.

    Materials checklist for the whole project list

    Project Starter materials Budget range
    Smart lighting Smart bulbs, app, Wi-Fi, optional smart plug $15-$40 per bulb
    Smart thermostat Compatible thermostat, screwdriver, wires labelled, app $50-$200
    Smart security Camera, sensors, hub if needed, storage option $40-$150

    Tips that save time, money, and mild frustration

    • Start with one room. A tiny win is better than a half-finished full-house plan.
    • Keep naming simple. “Hall Light” is easier than “Nimbus of Ambience v2.”
    • Check compatibility first. Especially with thermostats and hubs.
    • Update firmware. It is boring, but so is discovering your gadget has been living in 2021.
    • Test automations before trusting them. A scene that never runs is just a very expensive idea.

    If something fails, do the old-fashioned fix: power cycle it, re-check Wi-Fi, and make sure the app still has permission to do its thing. Most beginner problems are surprisingly ordinary.

    Ready to build your first upgrade?

    DIY smart home projects work best when they solve one real annoyance at a time. A better lamp, a calmer temperature routine, or a small security boost can make your space feel smoother without draining your wallet. That is the sweet spot: useful, affordable, and not wildly overengineered.

    Start small, learn what actually helps, and expand from there. If you want to keep going, browse the home page, then explore smart lighting solutions and intelligent climate control for the next step. And if you have a favourite low-cost smart home win, share it—because half the fun is hearing which gadget behaved itself for once.